
Graphics editor quick start guide
In this quick start guide, you will learn step-by-step how to use the editor on a basic level, so you get familiar with the most important features.
1.- Opening a template
Hover your mouse on any of the graphics templates, and click the "Edit" button. The template will load into the editor.
2.- Editing the text
The first thing we're gonna edit is the text.
Select the text by double-clicking the "T" icon on the layers panel.
Now the text is selected, so you can go ahead and type anything you want.
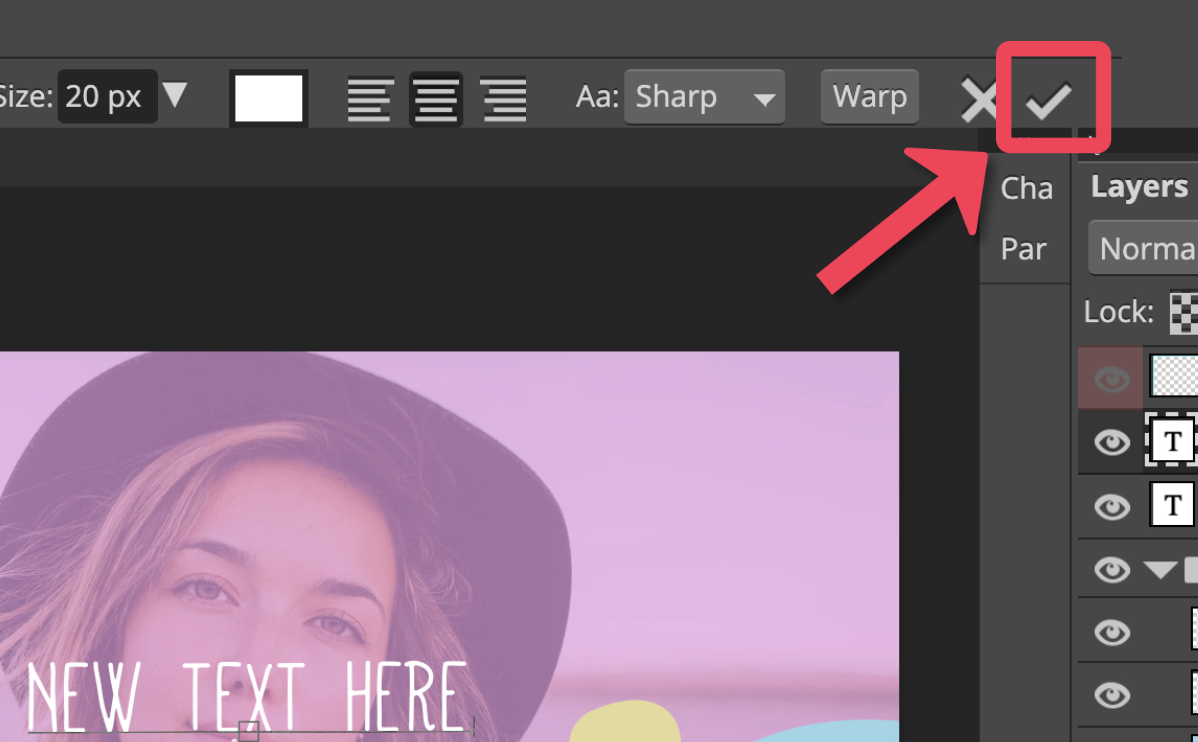
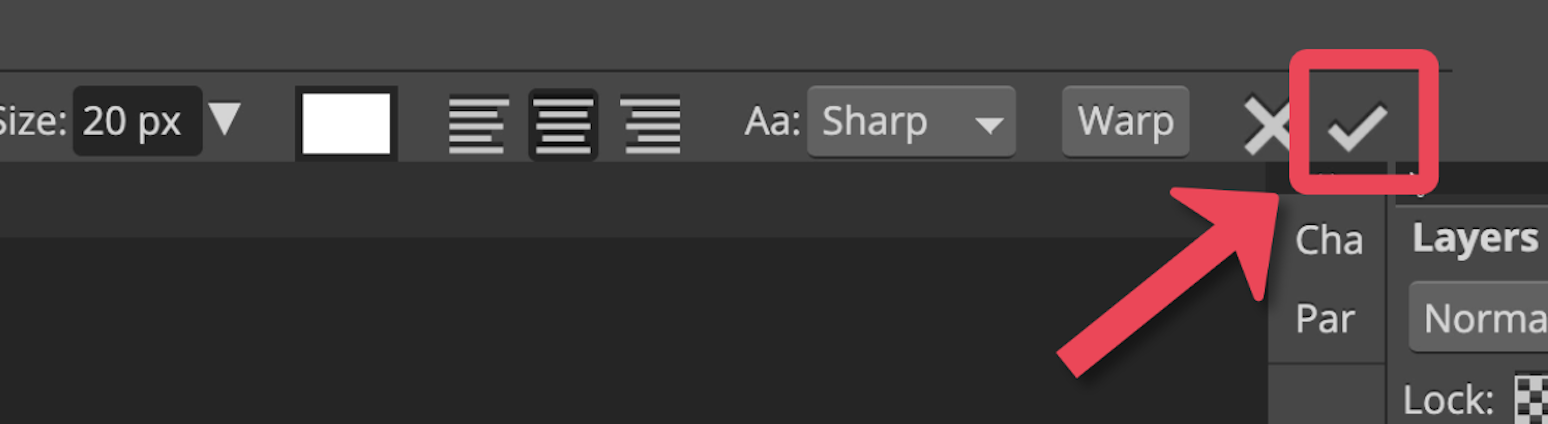
If you are done, click on the “check” icon to confirm the changes.
In case you want to keep editing, just select the text again, as described in the first step.
While the text is selected, you can also change the font-family:
Change the font size:
Once you are done editing the text, remember to click on the “check” icon to confirm the changes.
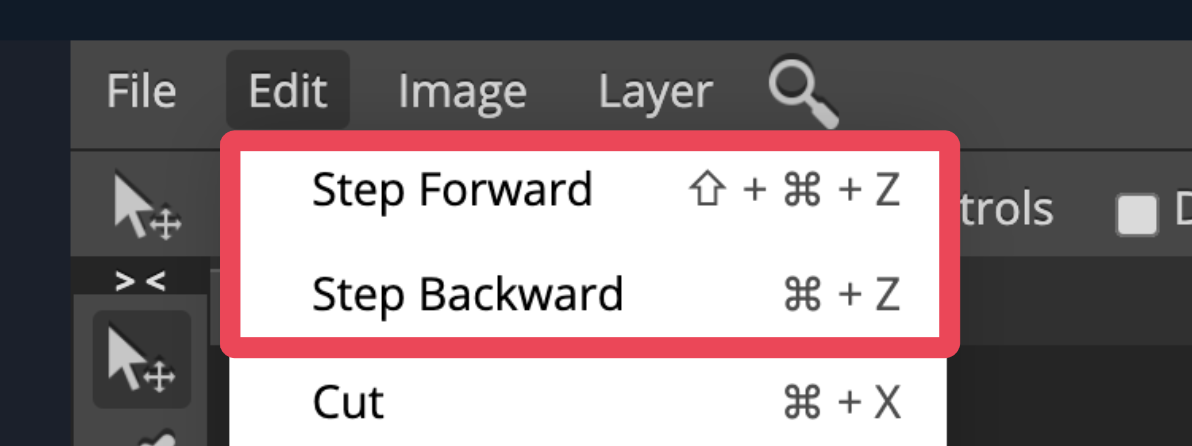
QUICK TIP:
You can "UNDO" any action by pressing control/command + Z on your keyboard. Another way to do that is by going to the “Edit” menu and use the Step forward/backward options.
3.- Working with layers
Before moving forward, let's talk briefly about layers. Layers are the way we can organize our image easily and smartly.
On the Layers panel you can see how many layers you have, how are they stacked, and if they're grouped or not into a folder.
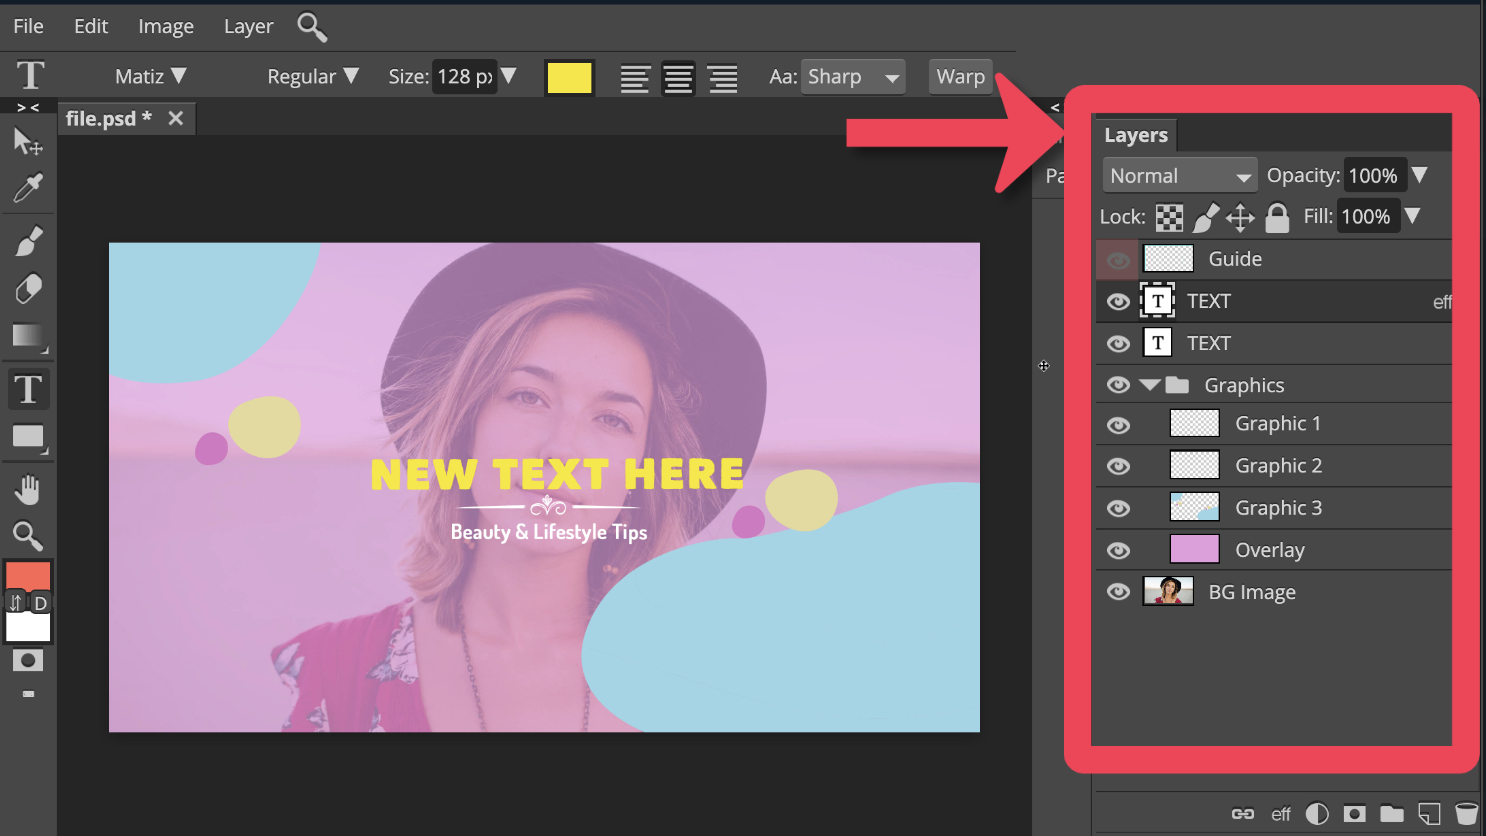
Each element on the design is a layer. When you click on a layer on the panel, you are actually selecting the element on the canvas.
You can hide or show any layer by clicking on the eye icon.
Or you can delete it by pressing "Delete" on your keyboard.
You can also rename a layer by double-clicking on the layer's name:
And you can drag and drop to reorder them in any way you want.
4.- Moving, scaling, and rotating elements/layers
To move, scale, or rotate any element, you need to activate the "Move" tool, the first on the tools sidebar at the left.
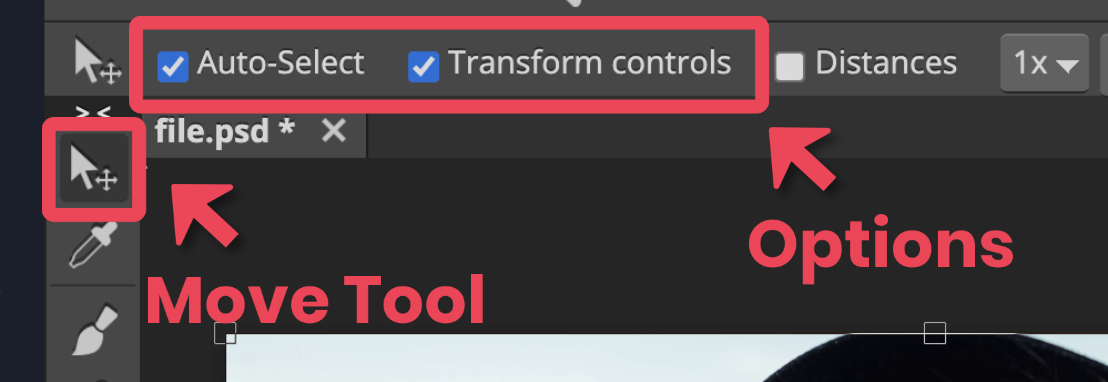
The “Auto-Select” option allows you to select elements by clicking on the canvas. If some layer is completely covered by another one, you can not select it this way, only by clicking on the layer on the Layers Panel.
The "Transform Controls" option show or hide the controls. When it's enabled, the transformation rectangle will appear around the content. It has four control points on corners, four control points on sides, and the rotation center in the middle.
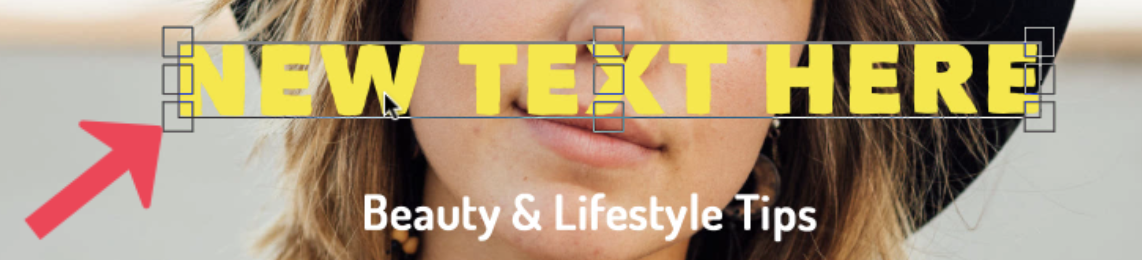
To select and move an element (layer), press and drag inside the rectangle.
To rotate an element (layer), hover your mouse over any of the control points on corners until the curved arrow shows up. Press, and drag like this:

In order to scale up or down, hover your mouse over any of the control points on corners until the straight double arrow shows up. Press and drag like this:

If you keep the “shift” key pressed on your keyboard while you resize the element, it will keep the same proportions.
Once you are done with transformation, remember to confirm the action by clicking on the Check icon
5.- Adding and replacing images
To add your own images from your computer, simply drag and drop the file inside the canvas like this.
Or copy (Ctrl + C) the file and paste it into the canvas (Ctrl + V)
To add an image from the Pixabay library, click on the Images button at the left sidebar. Then, search by keyword and click on one of the results.
Notice that after adding a new image, a new layer has been created. Now you can move it, resize it, rotate it, reorder it, etc. just like any other layer.
Once you are done, remember to confirm the action by clicking on the Check icon
6.- Saving and exporting your work
Once you are happy with your design, you can download a JPG or PNG image, ready to use in your video or upload to your channel.
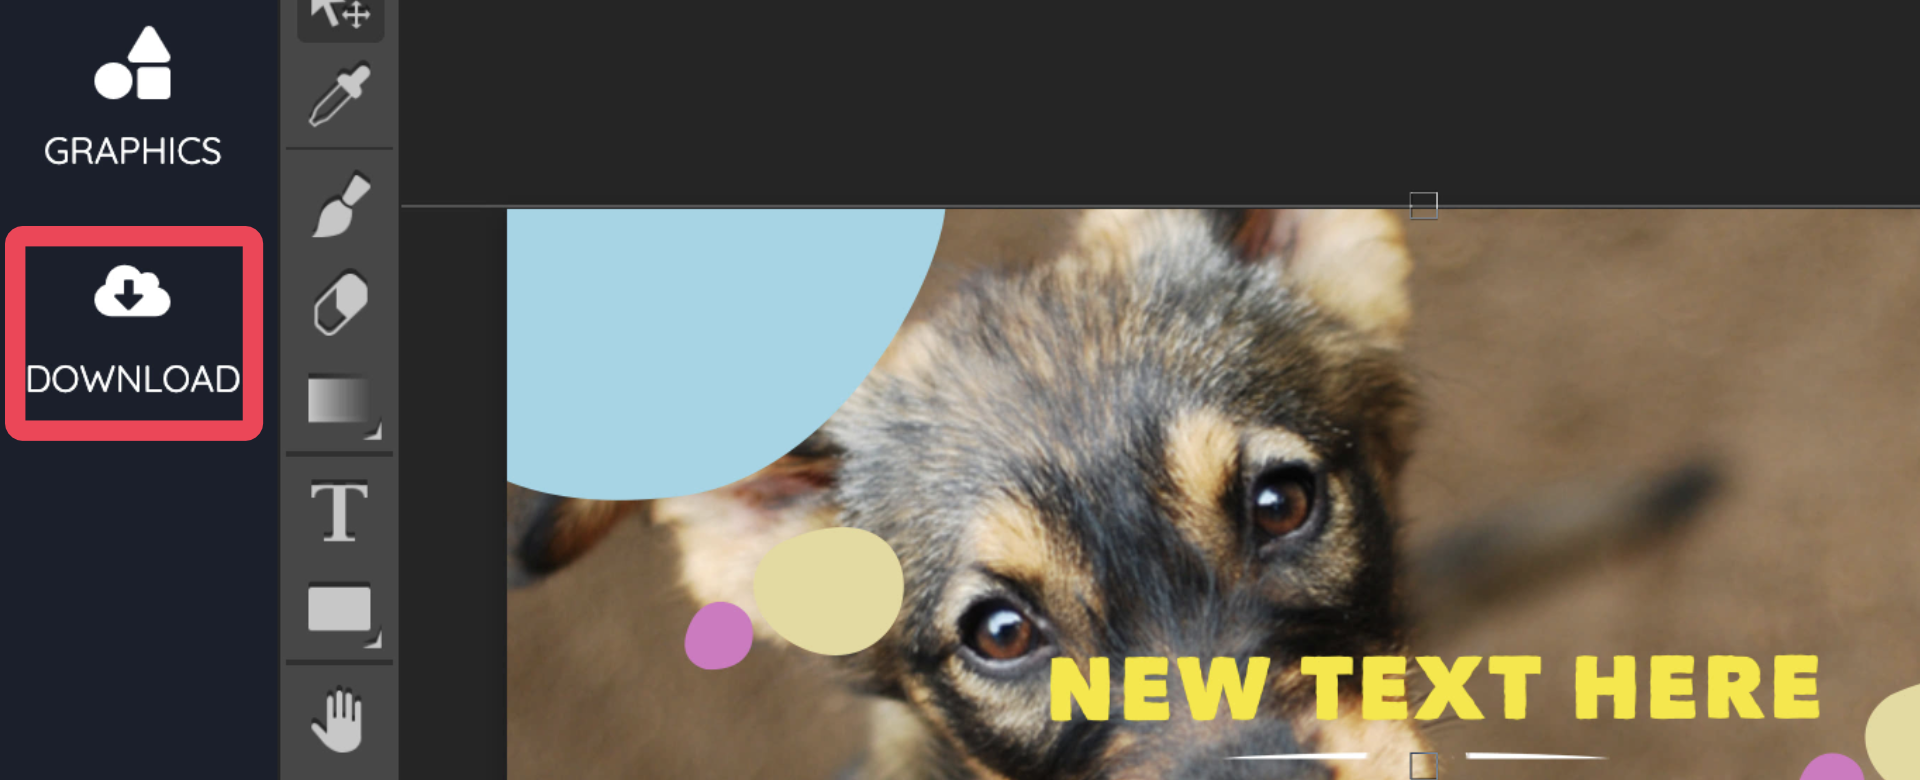
Click the “Download” button at the left sidebar.
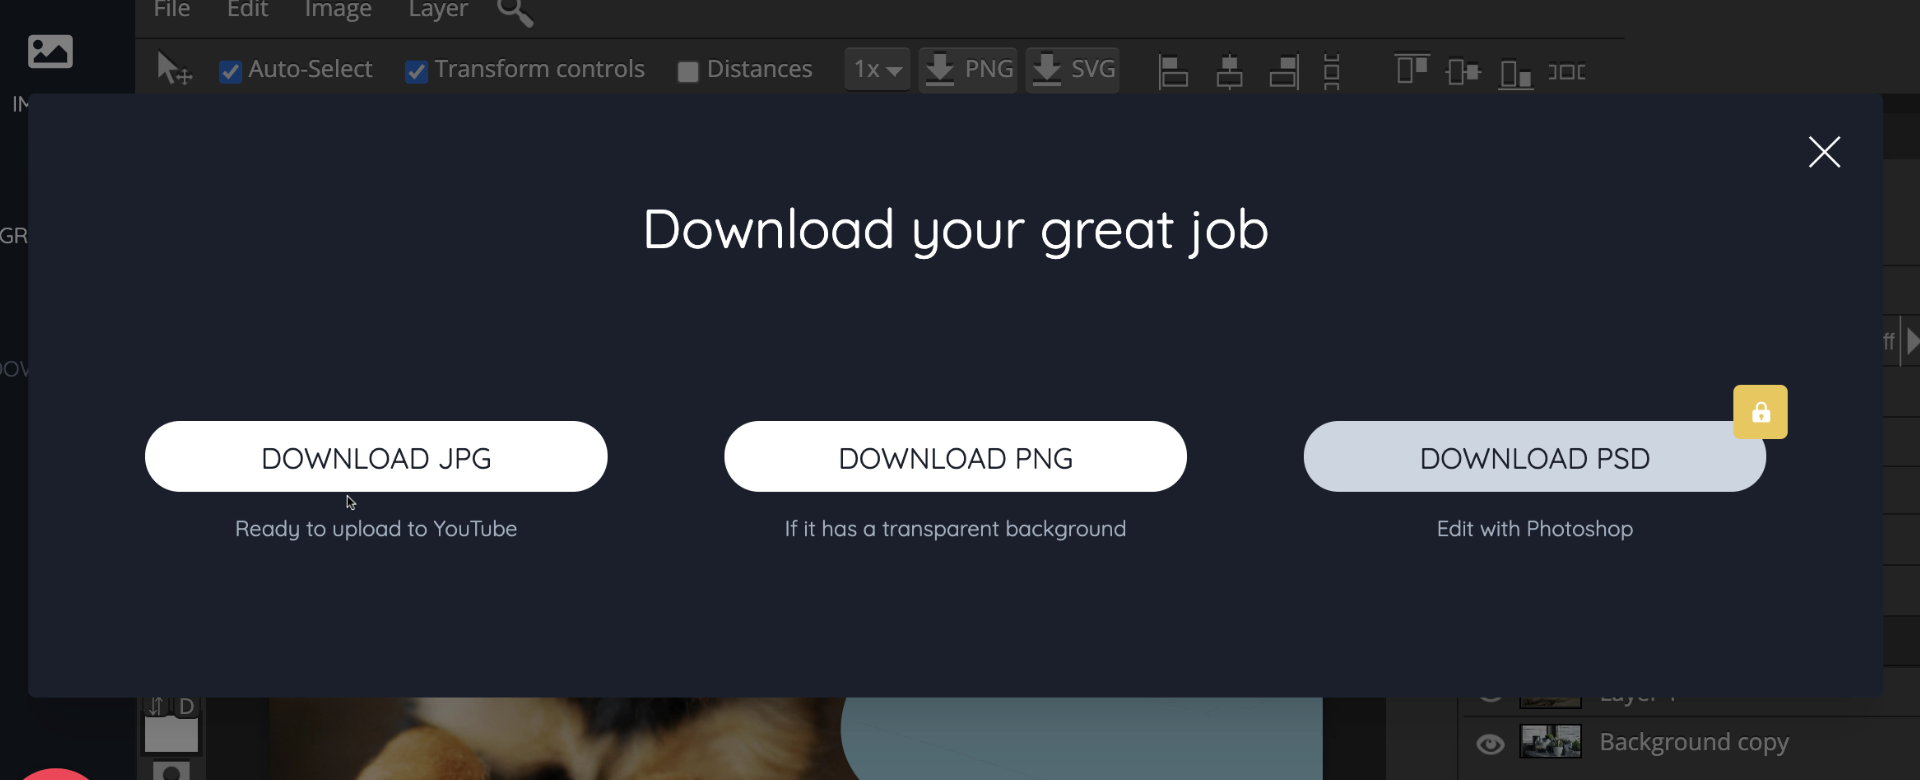
This window will appear. You can download as JPG, PNG (if your design has transparency), or PSD (only for Pro Club users).
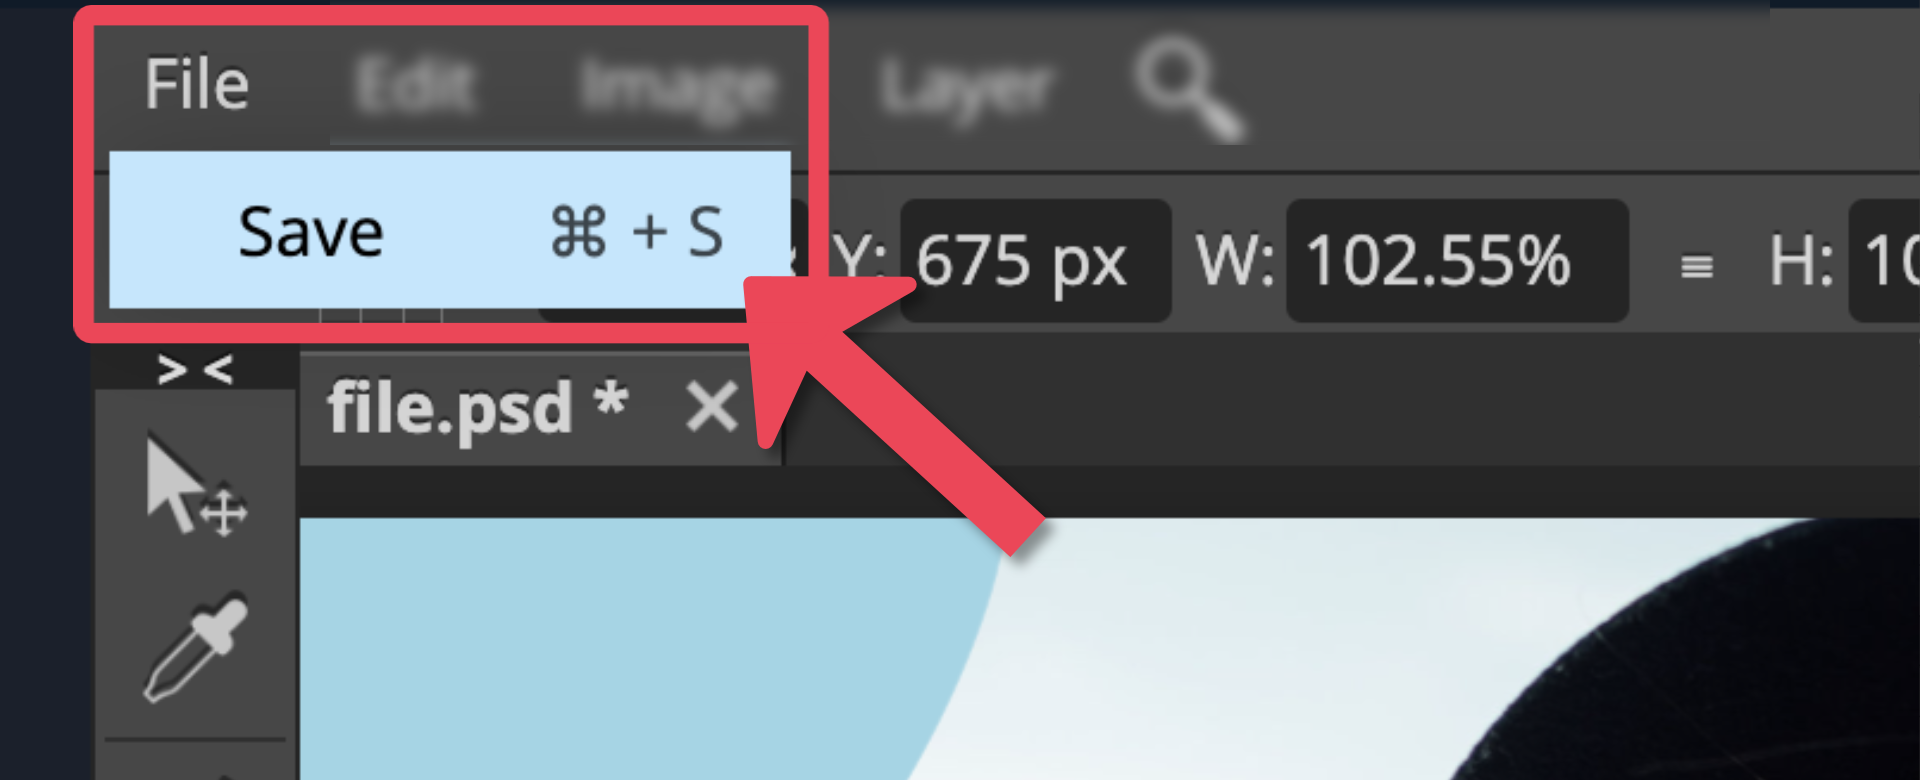
Finally, you can (actually you should) save your work for further editing, or to use it as a template. To do that, go to “File” and click on "Save" from the dropdown menu.
You can access your saved designs later at any time in the “My files” section of the platform.
That’s it for this quick start guide
With this, you can already get a lot done! You can find more in-depth tutorials and articles about the topic in the "Graphics Editor" section of our knowledge base here.
If you run into any issues, please let us know via the support chat.
Did this answer your question?