
How to crop a picture with masks
Sometimes, we need to hide a part of an image without deleting the actual pixel data. This can be done with masks.
First, import the image. You can learn more about the different ways to import images here.
Now, let's go and pick the Rectangle select tool from the tools panel. Make sure the layer you want to edit is selected in the layers panel (in darker grey).
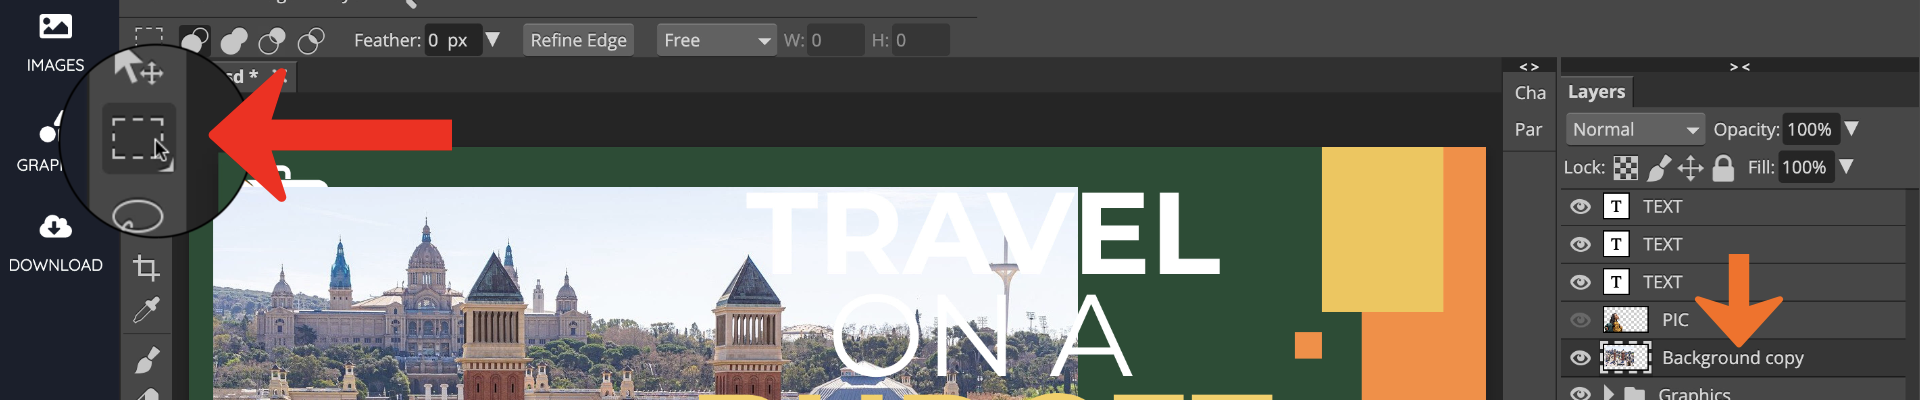
Click, and draw a recangle around the area you want to remain visible.
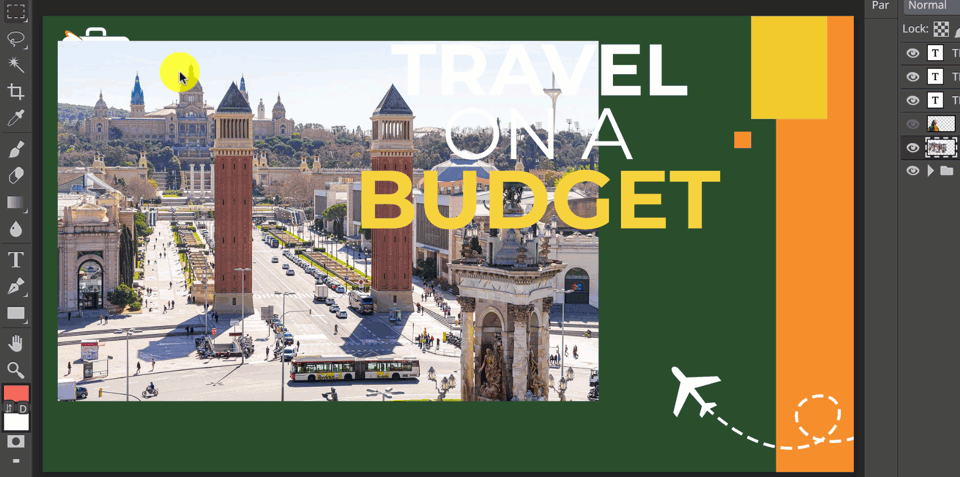
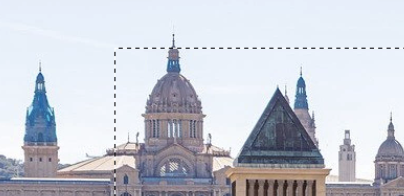
The dashed line over the image represents the area that is selected in the current layer.
Now click on the "mask" button (a rectangle with a circle inside) that you'll find at the bottom of the Layers panel.
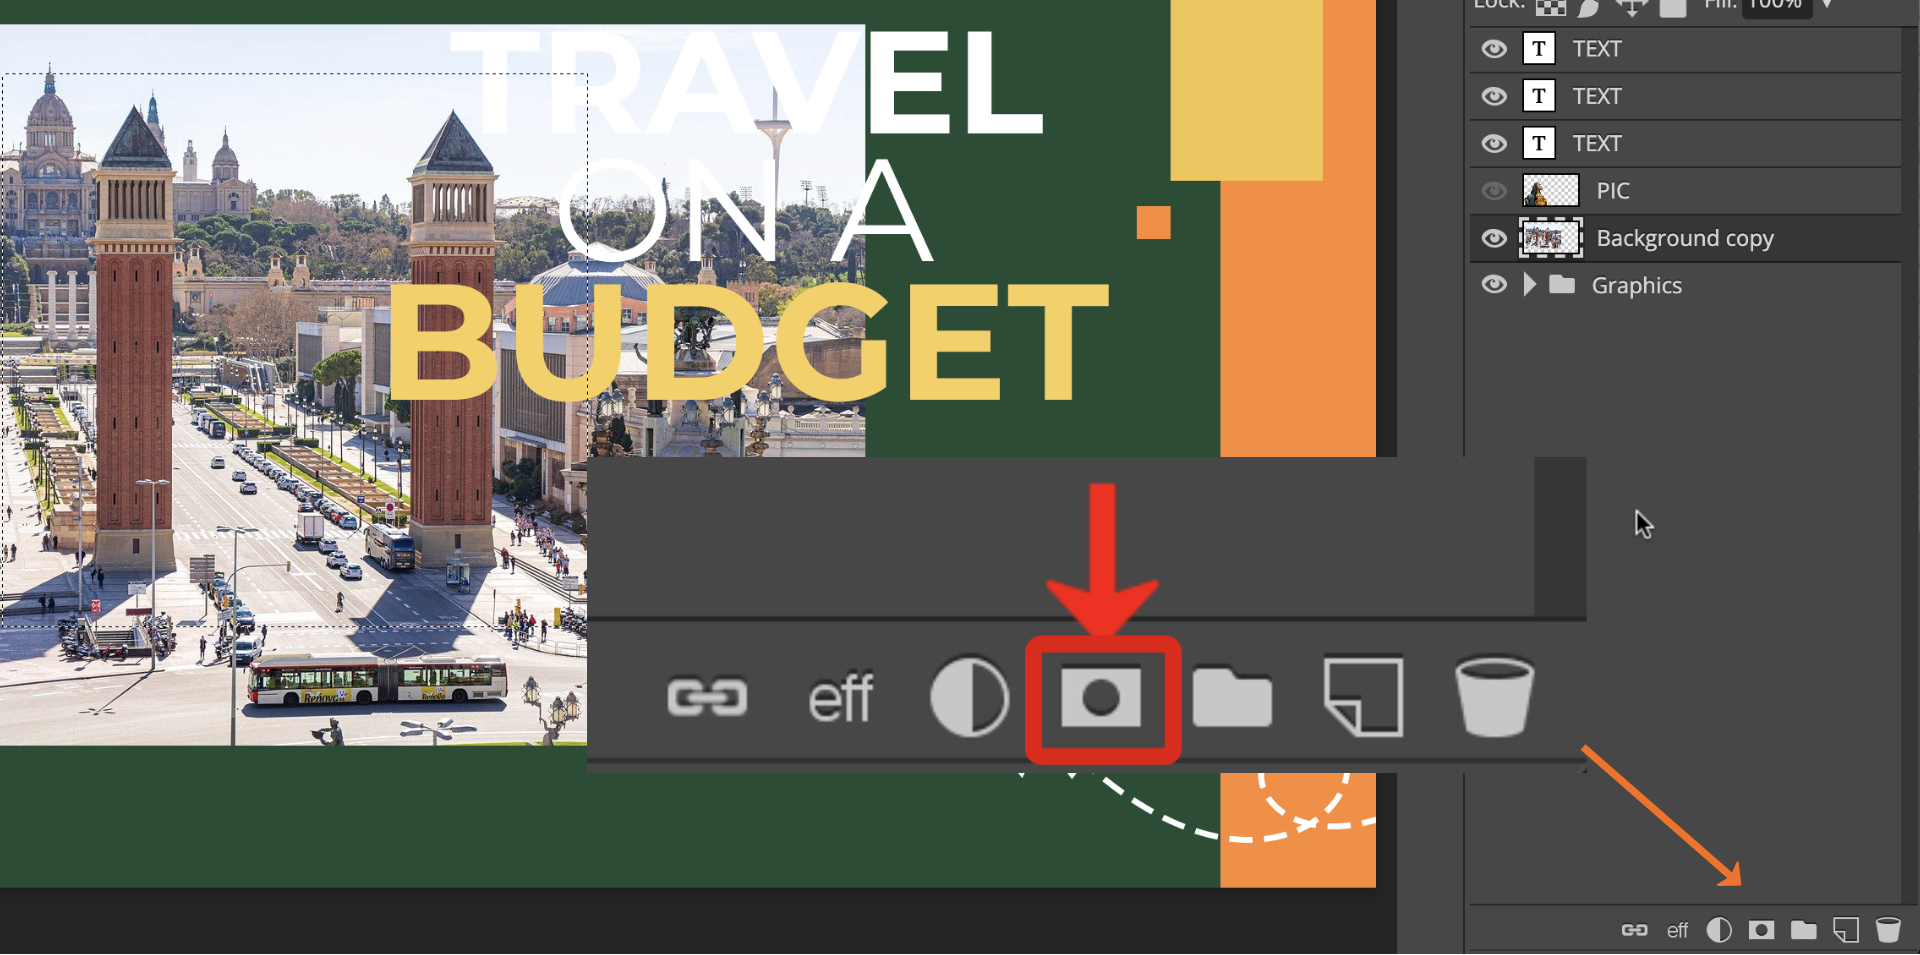
That will turn your selection into a mask, applying the crop to the current image layer.
And that's it!

You can do the same thing with other shapes by using a different selection tool. Read more about selection tools here (soon).
Let's say instead of the rectangle select you use the ellipse select and follow the same process.

This is what you'll get:
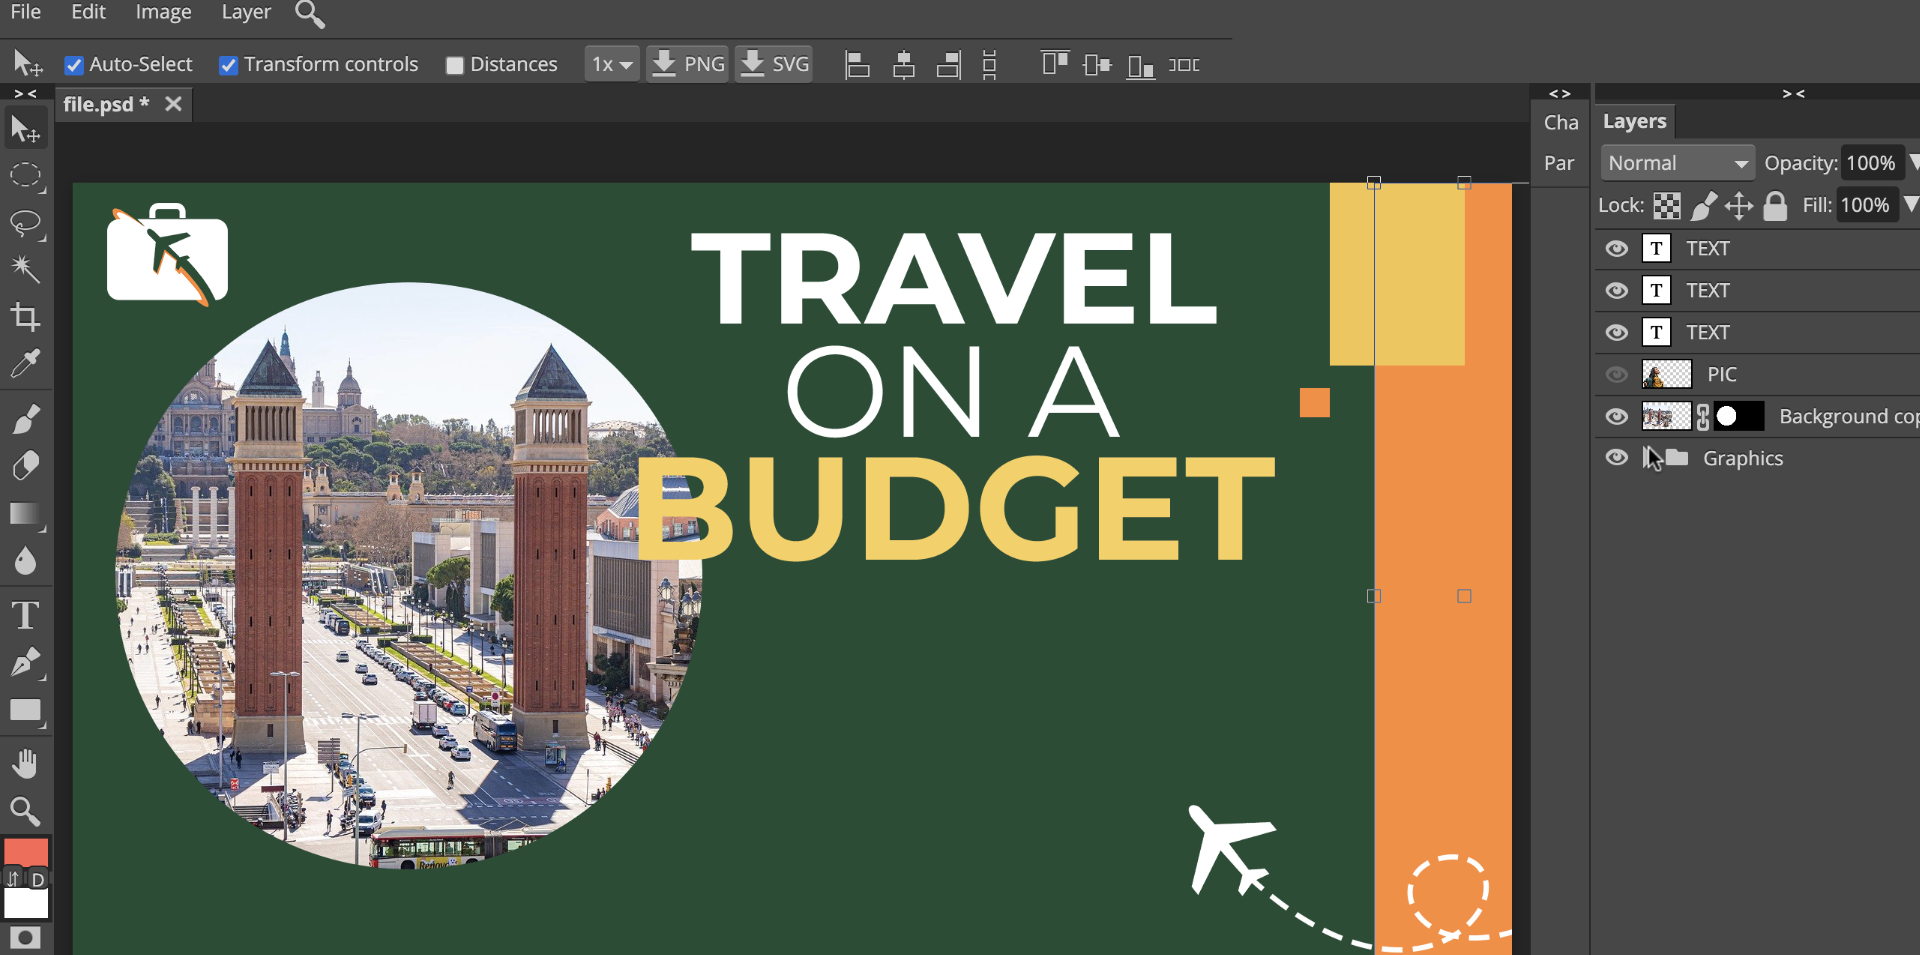
You can unlink the mask from the layer to edit them separately. Click the chain icon to link or unlink the mask, then click on the thumbnail to move, resize, or apply any other action to the image.
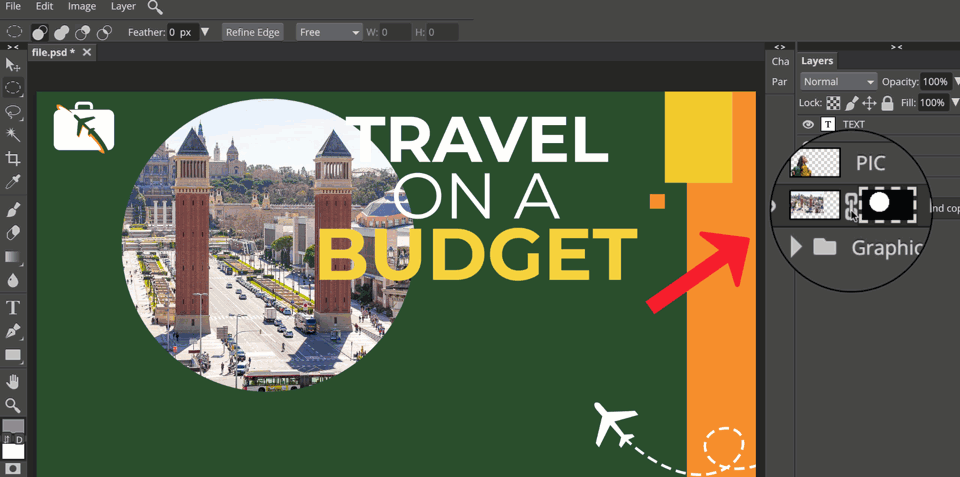
Once you're done, click on the chain icon to link the mask again.
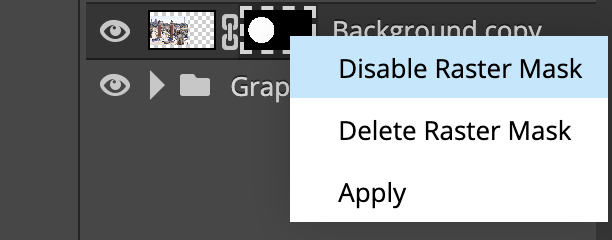
Finally, you can disable, delete, or apply (merge with the image) the mask, by right-clicking over the thumbnail and selecting the option.
Did this answer your question?